Develop, Scan, Print
Taking filmy pics with your old timey grandpa camera is super fun. You get in touch with your surroundings and see them with a new set of eyes searching for content in a way you might not have experienced before. You finish a roll and… now what? Walmart? CVS? What do you do with these rolls of film?
I get asked all the time what do I do with the film. Do I develop it myself? Do I have my own darkroom?
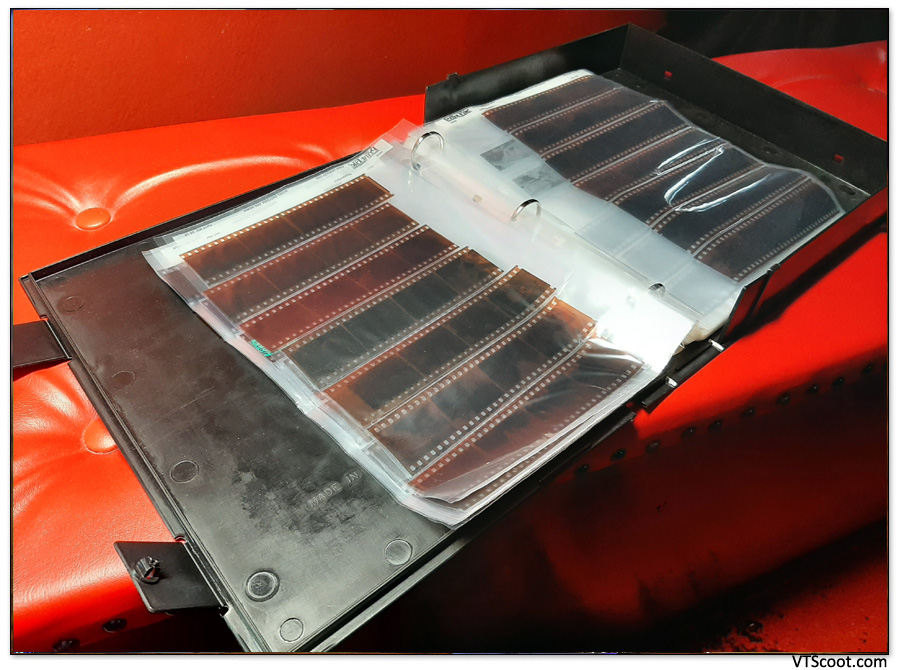
First word of advise I have is to not take them to Walmart, Walgreens or CVS. If for no other reason than the fact that they will not return your negatives, just scan and print, and give you digital copies. That strip of negatives is the whole reason you’re using a film camera in the first place! You want to keep those, put them into negative archival sheets in a binder and hold onto them – they will last your entire life, the lives of your children and the lives of THEIR children.
I’m blessed enough to have my choice of Green Mountain Camera or LeZot Camera here in Burlington when I need to develop color film. If you don’t have such a place in your town you can do it by mail. I would recommend The Darkroom, Citizens Photo, Pro Photo Connection or Process One. Process-only services are between $5 and $8 in most online photo labs. Shipping the film there and back will be the bigger cost factor so I would recommend sending multiple rolls at a time to get the most bang for your buck. Whatever lab you choose, just be sure you’re going to get your negatives back.
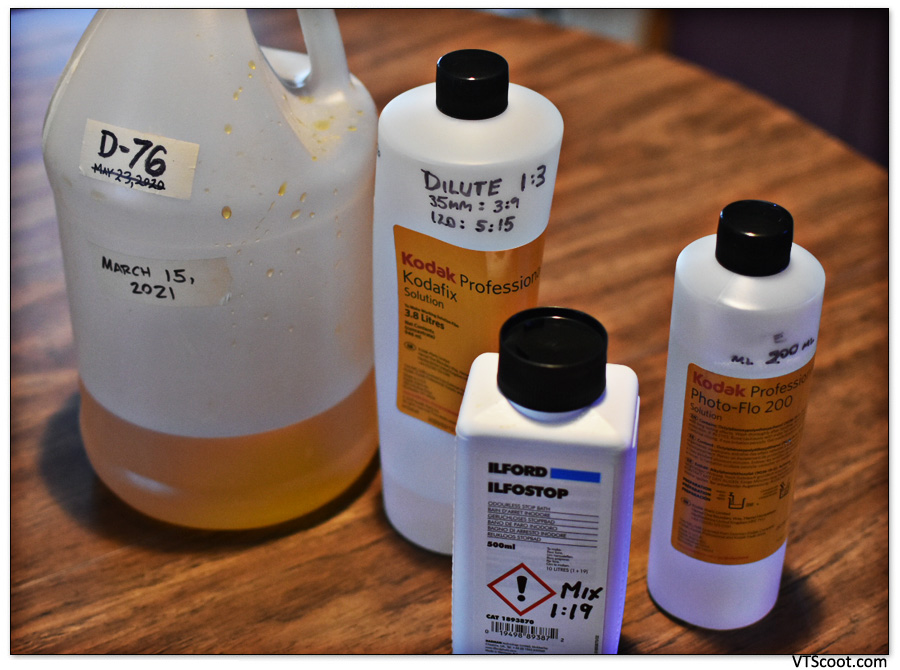
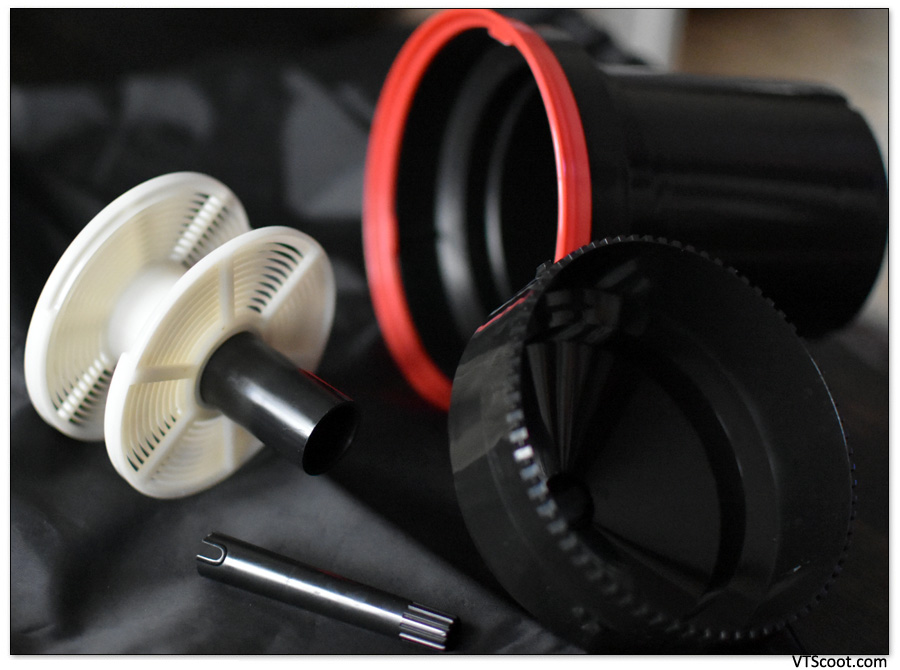
As for B&W film I just develop my own, and you can too!
Once you get your negatives processed you can pay to have the lab scan them, or you can scan them yourself. I chose the latter option because it is cost-effective and it’s fun. I like adding that layer of DIY to my photos, it reminds me a little of developing prints in my darkroom back in the 90’s, as each scan brings new revelations one picture at a time.
There are a lot of options available for 100 bucks or so, where you slide the negatives into the side of a little box and save the scans to an SD card. Very convenient, and naturally I would advise against that route. I’ve used two of these, and it’s basically a little light box with a cell phone camera built in that takes pictures of your negatives with not great results. The clarity and crispness isn’t great, and the colors were always off.
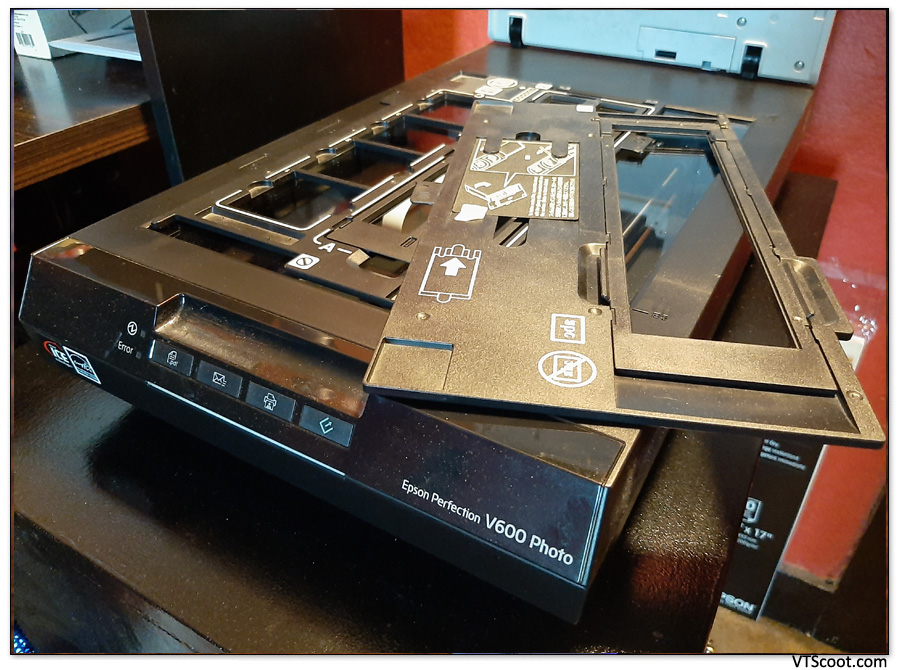
For just another hundred bucks more, you can get an Epson Perfection V600, which is what I use. It’s a flatbed scanner with a film scanner built in, I chose this model because it can do both 35mm and 120 film. There is also a V850 model, which scans at higher quality, scans 35mm, 120 and 4×5 formats, and costs almost a thousand dollars more than the V600, but it’s arguably the best flatbed film scanner on the market, so it’s worth thinking about.
Other options to consider are the PlusTek Opticfilm 8100 or 8200i, Pacific Image Powerfilm, or if you just want cheap and simple the Kodak Slide n Scan is better than most camera-in-a-cube options out there.
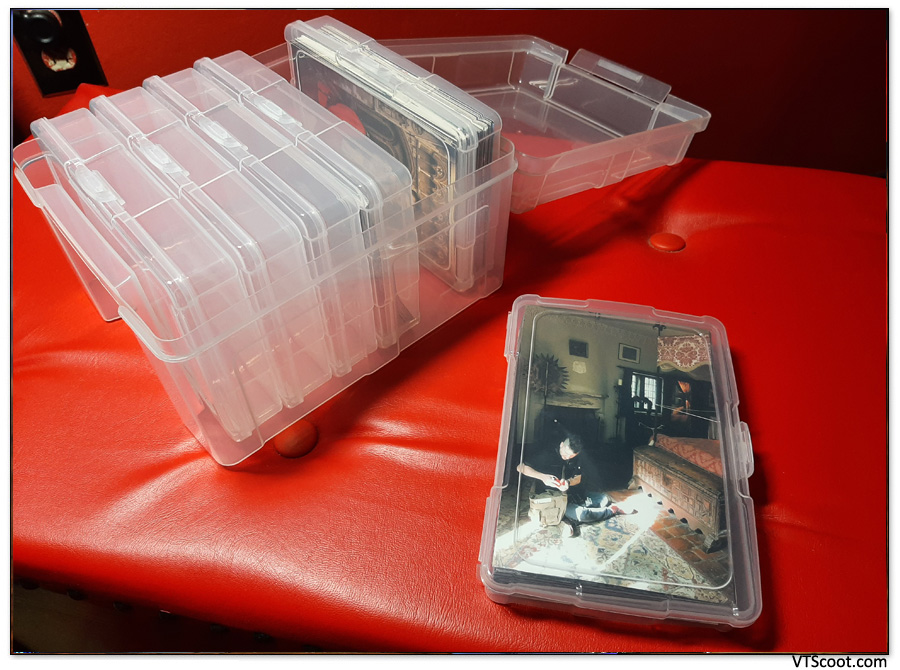
Once scanned, you can just save the digital files, look at ’em on your computer or share them on social media, but why not print some too? Save them in an old school photo album, share them with friends or store them in a box for safe keeping? Digital images are easy to lose track of as years pass, no matter how good your organizational skills are, or how magical your memory is at remembering that “DSC6031.JPG” is the bowling alley pizza party you went to in June of 1997, digital files will just disappear here and there.
When I was writing content for a local camera shop’s blog, my advise was to always to print off some of your favorite shots, either from film or digital, and put them into an album or a box for storing photos in, or both. Duplicates are not a bad idea, and give some to friends and relatives. There have been multiple times in my life where I was reminded of people and events in my life because a friend Instagram’d an old pic from 1988 that I gave them.
Printing photos can be done professionally, or using your own photo printer at home. If you’re printing them using an online service I’d recommend Mpix, Printique, Snapfish or Shutterfly. I’d recommend against Walmart, Walgreens and CVS, as quality seems to be all over the place and not the least bit reliable.
Buying a photo printer for home leaves you with many options. I bought a Canon PIXMA 6820 because it can print larger format prints, and it uses ink sold with separate cartridges for photo black, text black, cyan, magenta, and yellow. That’s a great feature if you want to maximize your color ink expenses, rather than having to replace an entire cartridge containing all the colors, simply because one of the three colors has emptied. Also of note, there are several high-quality off-brand ink manufacturers whose cheaper products work in this machine. Previously I had a Hewlett Packard photo printer, back when HP was the go-to printer when you wanted quality prints in the early 2000s. However, my last HP required expensive ink refills, would not accept 2nd-party ink, and the ink never lasted very long.
So I’d lean toward getting a Canon or an Epson printer, personally, just find out ahead of time which ink cartridges you will be using, so you can figure out what the long-term costs of ownership will end up being.
Or you could print the old fashioned way. This would entail a larger shopping list for sure. Once you procured a room with a sink or tub for the wet part, light-proofed the windows and doors, you would need the following: An enlarger, a safelight, a timer for the enlarger, a set of developing pans and tongs, a print washing pan, a grain focuser, a print easel, various filters, a box of printing paper and a full compliment of chemicals and chemical bottles. It’s a lot.
Bonus points: You can scan your own, print your own, develop your own, but were you aware you can even make your own rolls of film? No joke – you can do all four! It’s the quadrella of DIY analog photography! All it takes is a handful of reloadable film cartridges (just over a dollar each), a bulk loader (about 50 bucks) and a 100-foot roll of film. 100 feet of film (only B&W is available) can cost between 70 and 150 or so, depending on which filmstock you buy, and will make 18 rolls of 36-exposure film. A savings of maybe a dollar or two per roll, so it’s not really cost-effective when you factor in the cost of equipment, but it’s kinda fun if you like the DIY aspects of photography.
You can spend a lot of time and/or money on this hobby, or just a little, and get your chosen level of participation satisfied.